Jonathan Patterson
Freelance Product Design Generalist
All Lighting References

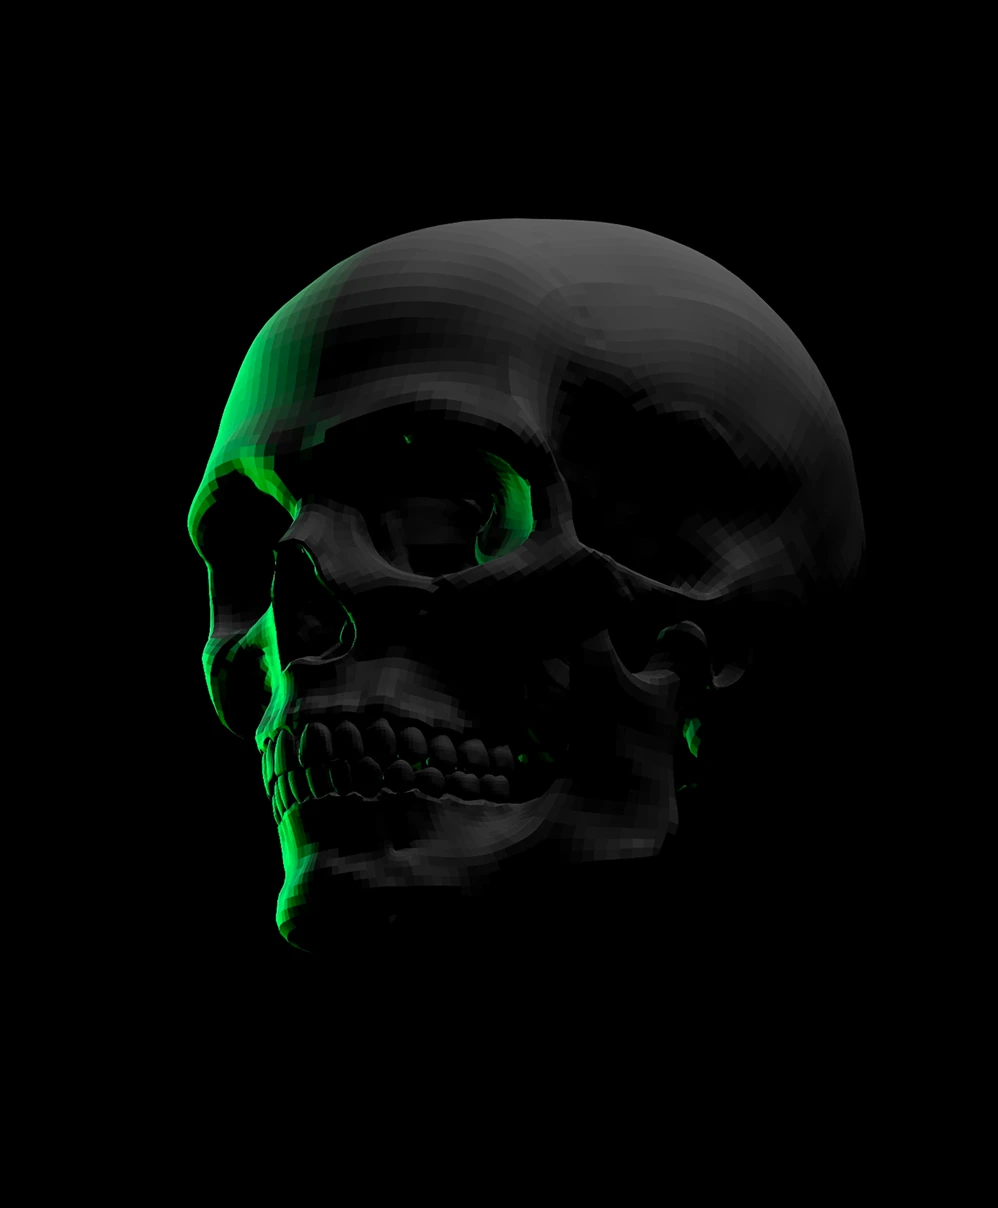
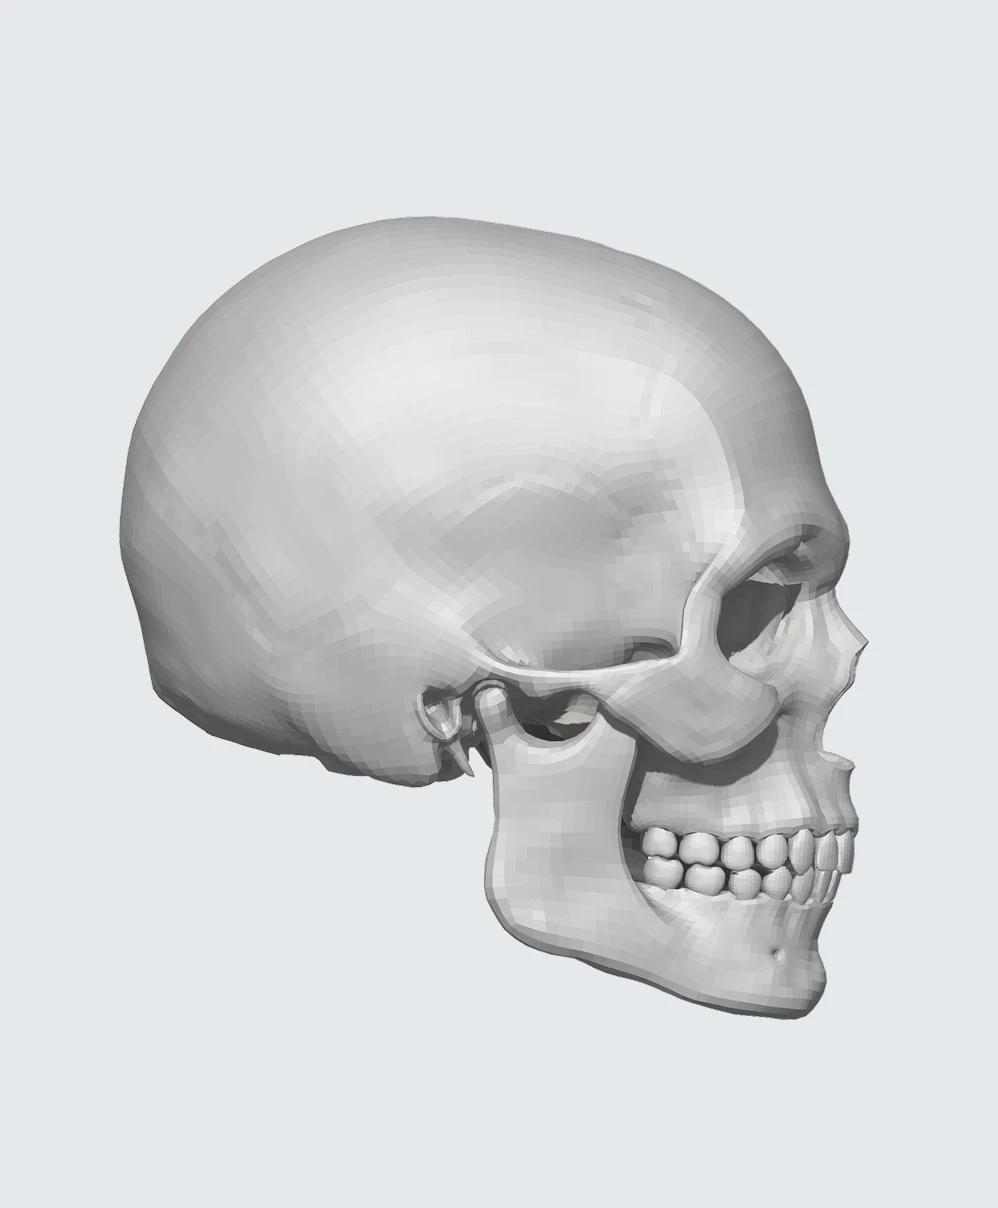
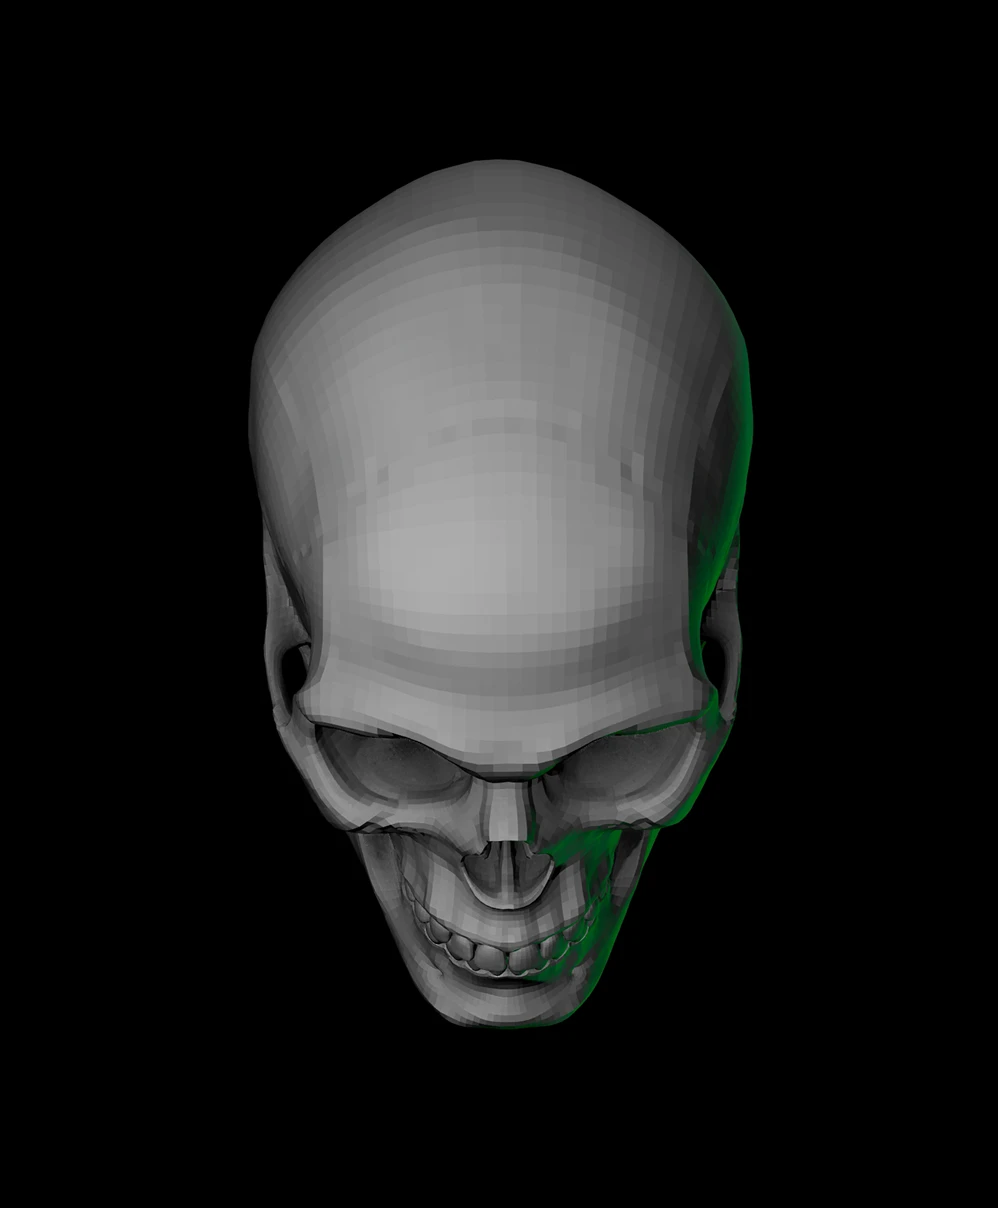

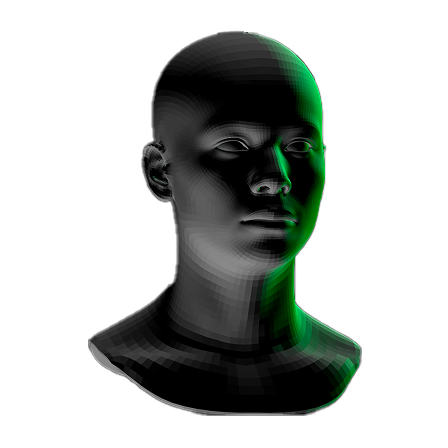
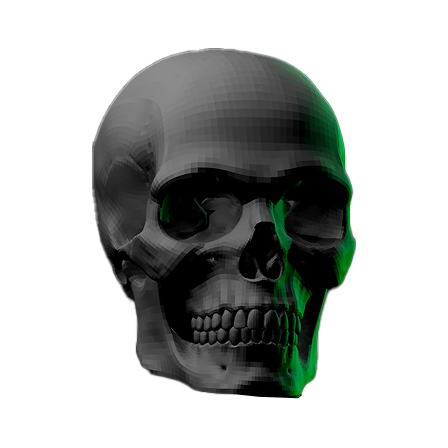
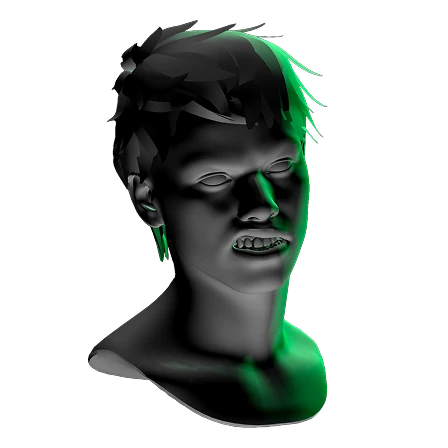
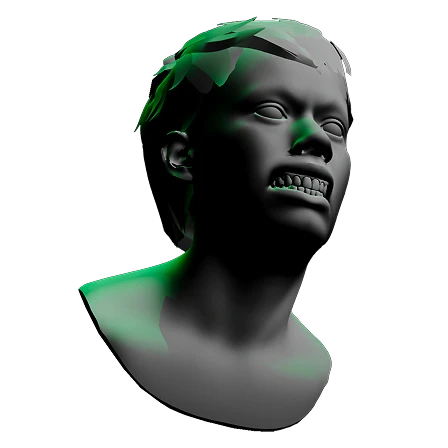
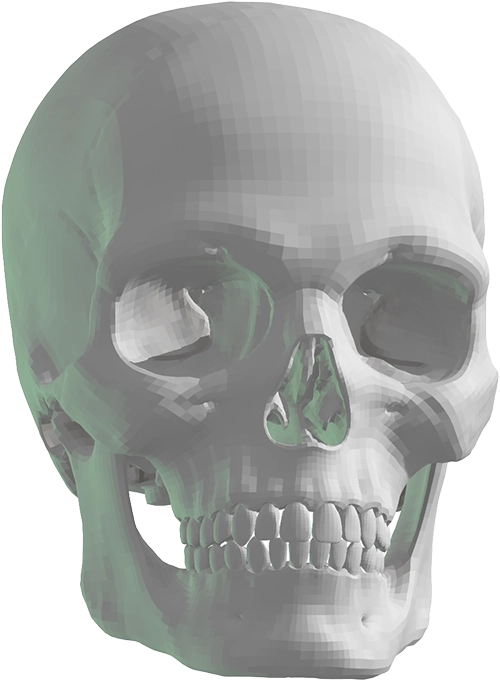
Explore how light behaves on the underlying structure of the human head with this free 360° skull lighting reference. Study anatomy, planes, and landmarks under neutral or dramatic lighting, including rim and split lighting.
Orbit the model or move the lights with click and drag. Pan using Shift + drag. Zoom using Command + scroll (Windows key on PC).
Press 1, or 2 on the keyboard to control one of two available lights. Each press cycles that light between two brightness levels and off.